Natalie is sharing a beautiful banner project and a full blown tutorial, but before we get to it, let's share how you can play along for a chance to win our soon-to-be-released February kit.
Title of the Project
You may post as many projects as you'd like each month for a chance to win a Lucky Girl kit or store credit. Each month's challenge will close at 11:59 PM MST on the first Wendesday of the next month (so, for the January Friday Fun Day Challenges, you must post your project inspired by any January FFD Challenge here no later than February 2nd at 11:59 PM MST). The winner will be announced with the first Friday Fun Day Challenge of that next month. January's winner will be announced on Friday, February 4th.
The January Friday Fun Day Challenge winner will receive the yet-to-be-released February kit and bragging rights for being the best among the Lucky Girls!
*****************
Now, without further ado, I'll leave it to the always lovely Natalie:
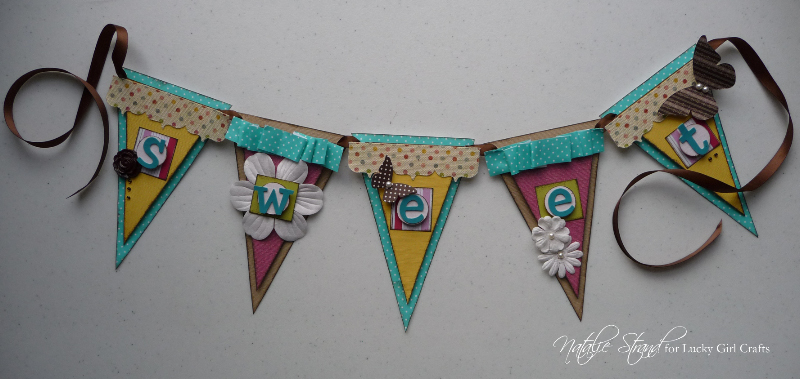
For today's Friday Fun Day project, I decided to make a banner... It looks great hanging on my craft room door for the Valentine's Day "season"-- but it would also be great for a little girl's room, or a birthday party!
I'm going to take you through the process I followed to create this banner. First, I gathered up supplies from my Lucky Girls January 2011 kit... I had in mind that I was going to create a banner, and gathering my supplies together let me see what I would have to work with.

You'll notice, if you look at the photo of the completed project, that I didn't end up using all of the things I pulled out, but that didn't bother me. I was inspired by the color combinations nonetheless. (P.S. I decided to use the Thickers that I had left from the October kit rather than the pink Thickers from this kit-- both look great!)
Next, I sketched out a fairly detailed design of how I envisioned the final result.
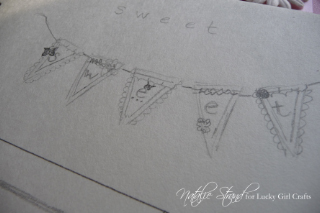
I tried to shade in the embellishments that I knew were dark so that I could make sure I balanced them across the finished piece. In the end, I stuck pretty closely to my design, but there are a few things that changed.
To make the triangular banner shapes, I looked at some pre-made banner flags I had on hand (Jenni Bowlin banner stickers, like those in the July kit). I noted that the triangles had an approximately 3:5 ratio of width at the top to length to the point. So I made the middle pieces of my pennant flags 3" across at the top and 5" long from top to tip. In order to create a template shape, I folded a piece of regular printer paper in half lengthwise. I marked a point 5" down from the top of the sheet along the fold, then marked a point 1.5" away from the fold at the top of the sheet. I connected the dots with my ruler and cut along the line. Using the template, I traced my triangles onto the cardstock and patterned papers.
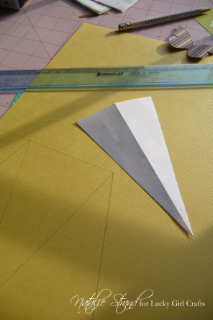
I made slightly bigger triangles to "mat" these pieces by adding about a 1/2" on all sides.
I began laying out my banner pieces and adding the embellishments. To make the letters stand out, I used punched circles from the Pink Paislee canvas border packaging... and then decided they needed to stand out even more, so I cut out little squares from the Dear Lizzy striped paper.

You can also see in this photo one of the "tricks" I use when I'm not yet fully committed to a particular choice: I cut up the packaging -- like the plastic behind the canvas borders or the brown gems-- before I remove the adhesive-backed items. Then I can move it around to get it exactly where I want it... before it gets permanently stuck in place.
As I was moving things around, I decided that all the paper pieces needed a little bit more definition, so I inked all the edges with a brown ink pad.
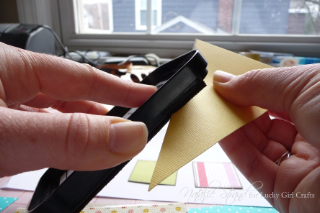
This also reinforces the brown as an accent color.
While my inked edges were drying -- all laid out on scrap paper-- I made some paper ruffles. I cut strips of the Doodlebug polka dot paper and ran them under water. I was amazed at how strong the paper remains when it is wet-- but be careful not to get it TOO wet!! It will just fall to pieces if you do.

Once the paper was wet, I manipulated the strips into the ruffle shapes I wanted... and then made myself walk away until they were totally dry (which was pretty hard, haha! I was impatient!) The dry paper ruffles will maintain their shape, all nice and curvy!

This is one of my favorite techniques recently... I love getting a lusciously dimensional embellishment from a simple strip of paper!
To finish up my banner, I pop-dotted the bejeepers out of everything (because we know how much I LOVE me some foam adhesive!)
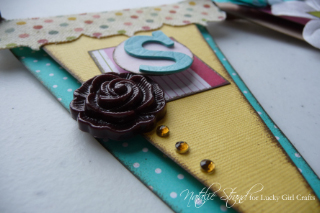
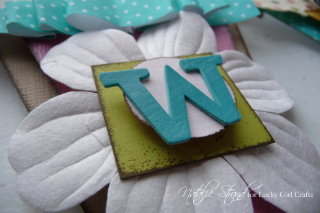
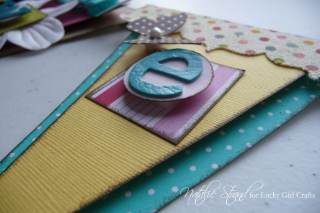
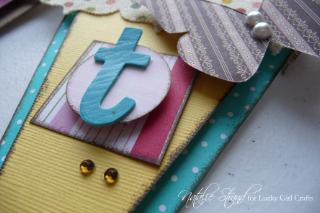
To string the pennants together, I punched 1/8" holes in the corners of the matting papers just below the corners of the center pieces. Then I knotted ribbon connectors behind each hole. If this banner was going to get moved around a lot, I would probably punch holes BEFORE I put the layers together and set eyelets for reinforcement.
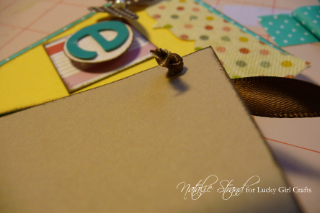
And here are some photos of the finished project!
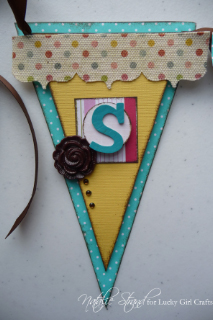
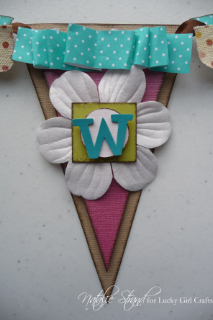

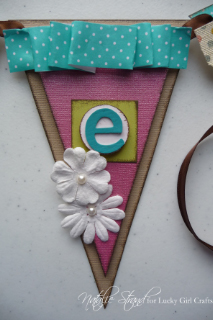


Lucky Girl supplies:
Bazzill Canvas Fawn
Bazzill Bling Feather Boa
Doodlebug Swimming Pool Swiss Dot
Making Memories Reverie Brun Antique gems (I used pearls from my stash because I'd used the pearls from this pack already!)
Making Memories Reverie Brun butterflies
Pink Paislee Sweetness Canvas Borders + background packaging!
Petaloo Color Me Crazies Flowers
American Crafts Thickers Sprinkles (from the October kit)
other supplies:
EK Success 1" circle punch
Fiskars 1/8" hole punch
Therm O Web foam adhesive
Glossy Accents
double-sided tape
brown pigment ink pad
brown ribbon
Alright Lucky Girls, time to get creating! You've now got two projects to "copy" from - Natalie's banner and my mailbox from last week. Remember to link your project to our inLinkz at the bottom of this post for your chance to win!


LOVE this....................so adorable!!!
ReplyDeleteThanks for the How To!!!!! I have not made a banner yet and now you have inspired me!!
So very, very cute!! Great tut!
ReplyDeletethis is gorgeous, Natalie!
ReplyDeleteI have wanted to embellish a banner on a layout for several months, and this challenge was the push that I needed! Thanks! I had fun!
ReplyDelete